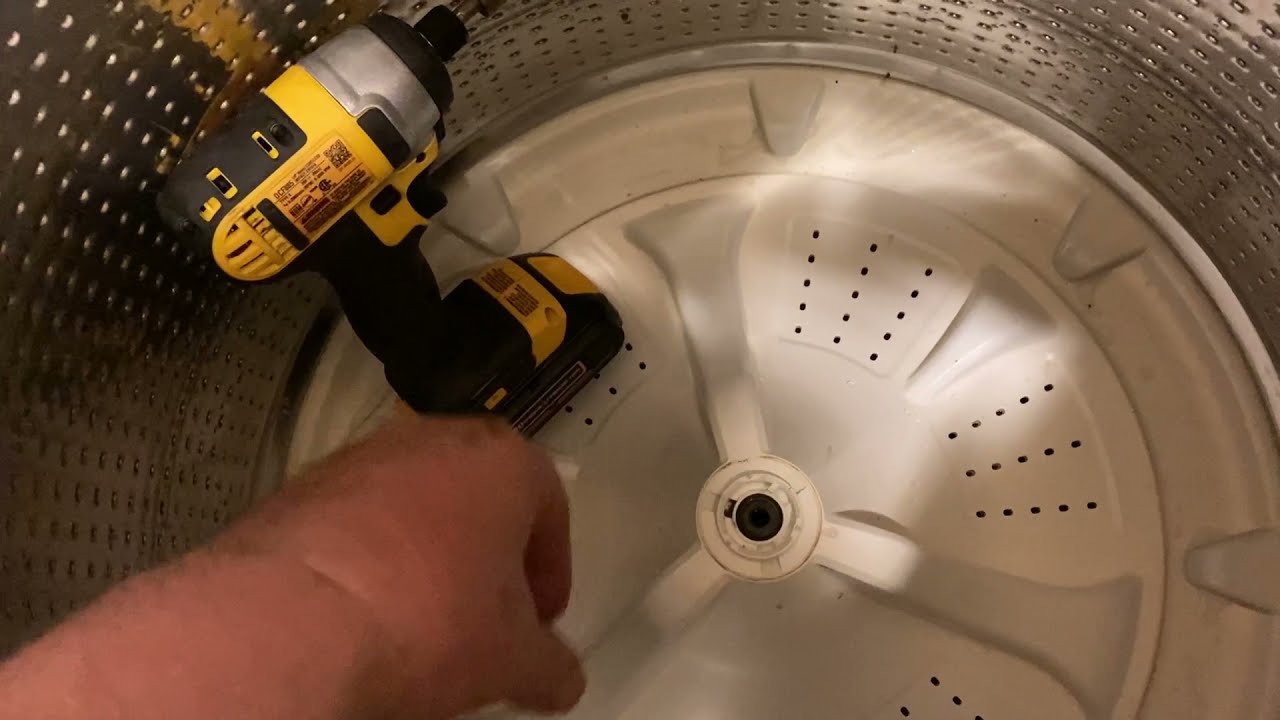
It’s Time to Tackle That Stubborn Maytag Agitator
Ever stared down your washer’s agitator wondering, “Just how do I get this thing out?” Removing the agitator from a Maytag washing machine might sound intimidating. But here’s the honest truth: with the right moves, it’s pretty straightforward. Whether you’re aiming to clean the agitator to remove odor from the washing machine or prep for a repair, you don’t have to be a technician.
Why Remove the Agitator?
- Deep cleaning beyond surface dirt
- Fixing or replacing a malfunctioning part
- Improving wash performance
- Clearing debris like coins or small objects stuck deep
Think of the agitator like the beating heart of your top load washer. If it’s jammed or dirty, your clothes won’t come out fresh.
Get Ready: Safety and Tools Checklist
- Unplug the washing machine — safety first! ⚡
- A socket wrench or your Maytag’s specific socket size (usually 7/16″)
- Flathead screwdriver
- Towel or rag (to catch drips or protect floors)
- Penetrating oil (optional, for stuck bolts)
Step-by-Step Guide: Remove Agitator from Your Maytag Washer
- Strip the Fabric Softener Cap: Pop off the removable cap on the agitator.
- Unscrew the Agitator Cap: Use a flathead screwdriver if needed to pry it out.
- Locate the Bolt: Beneath the cap, you’ll find a large bolt securing the agitator.
- Remove the Bolt: With your socket wrench, unscrew the bolt counterclockwise. If it’s stuck, apply penetrating oil and wait 5 minutes.
- Get a Grip and Lift: Hold the agitator and pull straight up. It might take a firm tug — this part’s often snug.
- Remove the Fabric Softener Dispenser (if applicable): Some agitators have a 2-in-1 design. Here’s a video showing that style: Understanding the 2-in-1 Removable Agitator.
When Things Get Sticky: Removing a Stuck Agitator
If your agitator refuses to budge (and believe me, it happens), here’s your playbook:
- Apply extra penetrating oil.
- Tap gently at the base with a rubber mallet to loosen it.
- Try rocking the agitator side to side while pulling.
- Review community tips for stubborn agitators on forums like Maytag Washer Help Group on Facebook.
Cleaning Your Agitator: Back to Fresh
Once you’ve got the agitator out, it’s prime time for a good scrub:
- Soak it in warm water plus a cup of white vinegar to zap buildup.
- Scrub crevices with an old toothbrush.
- Dry completely before reinstalling.
Washing Machine Maintenance Checklist 📅
| Task | Recommended Frequency | Purpose/Benefit |
|---|---|---|
| Clean agitator and drum | Every 3 months | Remove odor and buildup for fresh laundry |
| Inspect hoses and connections | Every 6 months | Prevent leaks and water damage |
| Run cleaning cycle with vinegar or cleaner | Monthly | Maintain washer’s efficiency and hygiene |
| Check agitator bolt tightness | Every year | Avoid rattling or malfunction |
Safety Reminders
- Always unplug your washer before any disassembly.
- Use tools as intended and wear gloves if needed.
- Don’t force parts excessively; patience prevents damage.
Key Takeaways
- The agitator is removed by unscrewing the bolt beneath its cap and pulling up firmly.
- Preparation and proper tools make all the difference.
- Stuck agitators respond well to penetrating oil and gentle persuasion.
- Cleaning the agitator improves washer performance and odor control.
- Regular maintenance keeps your Maytag running smoothly for years.
Source: www.thespruce.com
Frequently Asked Questions
Do all Maytag washing machines have removable agitators?
Not all, but many Maytag top-load washers come with removable agitators. Check your model’s user manual to be sure.
Can I remove the agitator without tools?
It’s tough; most Maytag agitators are secured with a bolt requiring a socket wrench for removal.
Is it safe to clean the agitator with bleach?
Use caution—bleach can degrade rubber or plastic parts. Vinegar is a safer alternative for cleaning buildup.
How often should I remove the agitator for cleaning?
Every 3-6 months is ideal to keep odors and grime at bay.
What if the agitator is broken?
If damaged, replacement parts are available from Maytag or authorized dealers, and proper removal is the first step.

With over 15 years of hands-on experience in the appliance repair industry, Erick Jackson is WashingMachineCare’s resident gearhead. He holds multiple manufacturer certifications and specializes in breaking down complex mechanical failures into easy, step-by-step DIY fixes. When he’s not covered in grease, Erick Jackson enjoys restoring vintage washing machines to their former glory.