How To Clean Public Washing Machine Before Use
You’re Asking How To Clean Public Washing Machine Before Use? Good. About Damn Time.
Look, honestly, most people just shove their grubby clothes in and hit start. They don’t think about the last guy. Or the guy before him. Or the sticky residue. Or the funk. The thing is, that machine’s seen things. Things you don’t want on your delicates. Or your gym socks. Especially not your gym socks.
This ain’t rocket science. It’s basic hygiene. You wouldn’t eat off a stranger’s plate without wiping it first, right? Same principle. Probably dirtier. My aunt Carol, bless her heart, she once used a public washer at a roadside motel back in ’98. Ended up with a rash that looked like a topographical map of the Grand Canyon. Took weeks. So, yeah. Pay attention.
The Gross Reality: What’s Lurking in There?
Let’s get real. Public washing machines are petri dishes. Mold. Mildew. Residual detergent. Body fluids. Probably worse. We’re talking about bacteria counts that’d make a biohazard lab blush. Forget the ‘eco-friendly’ cycle; that’s just a polite way of saying ‘we barely rinse this thing.’ They get run constantly, sure, but ‘run’ doesn’t equal ‘clean.’ Not even close.
Think about it. Every load. Different detergent. Different fabric softener. Different people with different… bodily functions. Sometimes a machine sits for hours, door closed. Perfect breeding ground for funk. That stale, damp smell? That’s your warning signal. Ignoring it is like ignoring a flashing red light on your dashboard. Bad things happen.
Step 1: The Recoaissance Mission – Visual Inspection
Before you even think about touching that dial, you gotta look. Use your phone flashlight. Or the one built into your fancy new device. Shine it in there. Check the rubber seal around the door. That’s where the nasties hide. Mold. Gunk. Lint. Little bits of who-knows-what. If it looks fuzzy, you’re already in trouble.
Next, the drum. Spin it. Look for any obvious grime. Sticky spots. Weird discoloration. Smell it. If it reeks like a locker room after a mud-wrestling match, run. Don’t walk. Run away. Find another machine. Or another laundromat. Seriously. Some places are just beyond hope. Back in 2017, I saw one in Vegas that looked like it’d been used to wash actual Vegas.
The Crucial Seal Check
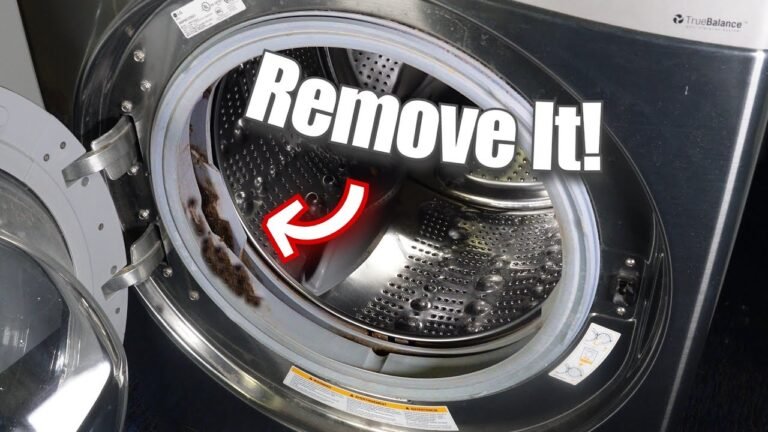
This is non-negotiable. That rubber gasket around the door. It’s a trap. For lint. For hair. For forgotten tissues. And worst of all, for mold spores. Pull it back. Gently. Use a paper towel. See what comes out. If it’s black, green, or just… slimy, you need to clean it. Or, more realistically, you need to abandon ship.

Drum Debris Scan
Give the inside of the drum a good once-over. Check the little holes. Sometimes small items get stuck in there. Or dried-on gunk. If you see anything that doesn’t look like clean stainless steel, that’s a red flag. A big, flapping, greasy red flag.
Step 2: The Disinfection Protocol – Armed and Ready
Okay, you’ve decided the machine isn’t a complete biohazard zone. Now you bring out the big guns. And by ‘big guns,’ I mean basic cleaning supplies you should always carry with you. If you don’t, you’re already losing. Forgetting your arsenal is like going into battle unarmed.
You need disinfectant wipes. Bleach wipes are best. Or a spray bottle with a bleach solution. Mix about a quarter cup of bleach with a gallon of water. Be careful, though. Don’t mix bleach with anything else. Especially not ammonia. That’s a chemical weapon, not a cleaning solution.
Wipe Down Everything
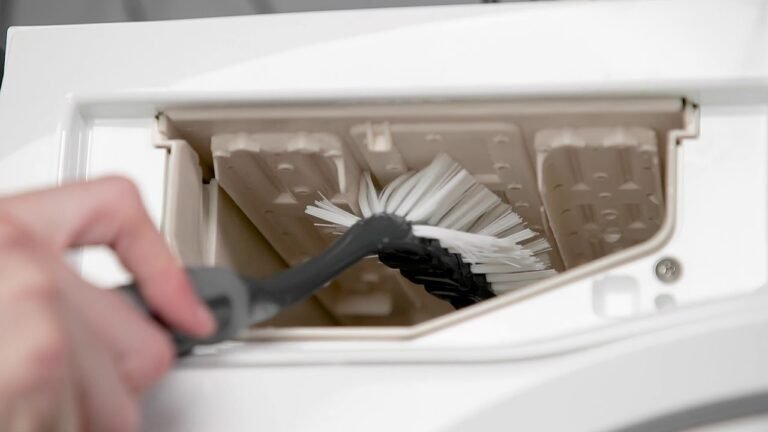
Grab a wipe. Or a soaked paper towel. Start with the rubber seal. Scrub it good. Get into all the nooks and craies. Don’t be gentle. This is war against germs. Then wipe the entire inside of the door. The exterior too. The control panel. The soap dispenser drawer. Every surface someone touches.
The Drum Decontamination
Now, for the drum. Wipe it down thoroughly. Even if it looked clean. You want to kill whatever invisible nasties are lurking. Get it sparkling. Or as close to sparkling as a public machine gets. Honestly, it’s usually a lost cause, but you gotta try.

Pro Tip: Keep a small spray bottle of rubbing alcohol in your bag. It evaporates fast and kills a surprising amount of crap. Spray it inside, give it a minute, then wipe. Good for quick sanitizing.
Step 3: The Pre-Wash Cycle – Your Personal Rinse
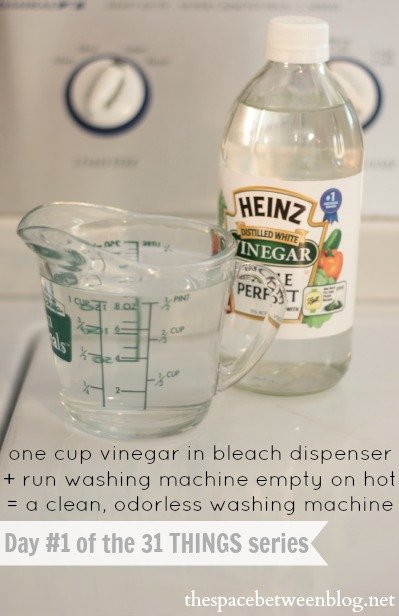
This is the crucial step most people skip. You need to run a quick, empty cycle. Hot water. Add a little bit of bleach or a washing machine cleaner tablet. This isn’t just for show. It flushes out whatever residual gunk is still in the pipes or the detergent dispenser. Think of it as a personal decontamination shower for the machine.
Set it to the hottest, longest cycle available. Let it run. While it’s ruing, go get a coffee. Or check your phone. Just… get away from the potentially germ-ridden area for ten minutes. When it’s done, you can run another short rinse cycle if you’re feeling extra cautious, but usually one hot cycle is enough.
I remember one time in Denver, the machine I picked smelled okay after wiping. But I ran the hot cycle anyway. Guess what? A brown sludge came out in the drain. Brown sludge! If I’d skipped that step, it would’ve gone straight onto my new white shirts. Disaster averted. That sludge was probably the accumulated grime of six months. Maybe more.
Hot Water is Key
Don’t skimp on the temperature. Cold water just doesn’t cut it for killing germs. You need that heat. Max it out. Max out the time, too. Let it do its thing. Scrub the pipes clean. That’s the goal here.
Detergent or Cleaner?
A splash of bleach is effective. Or a dedicated washing machine cleaning tablet if you have one. The goal is to agitate and kill. Don’t use fabric softener for this cycle. You’re not trying to make the machine smell nice; you’re trying to purge it.

Step 4: Loading Your Laundry – The Final Frontier
Now, and only now, can you add your clothes. Load them in. Don’t overstuff the machine. Give your clothes room to move. Proper circulation means cleaner clothes. Less wear and tear. Basic laundry physics.
Add your detergent. Use the amount recommended for your load size and machine type. High-efficiency (HE) machines need special HE detergent. Using too much detergent is actually bad. It can leave residue. And make the machine smell worse over time.
Watch: HOW TO SANITIZE YOUR WASHING MACHINE. #laundromat …
Close the door. Select your cycle. Start it. And try not to think too hard about the previous loads. It’s clean. You made it clean. Relatively speaking.
Step 5: Post-Wash – Clean Up Your Act (and the Machine’s)
Once the cycle is done, unload your laundry promptly. Leaving wet clothes in the washer is a recipe for mildew. Even if you cleaned it, don’t push your luck. Get ’em in the dryer or hang ’em up.
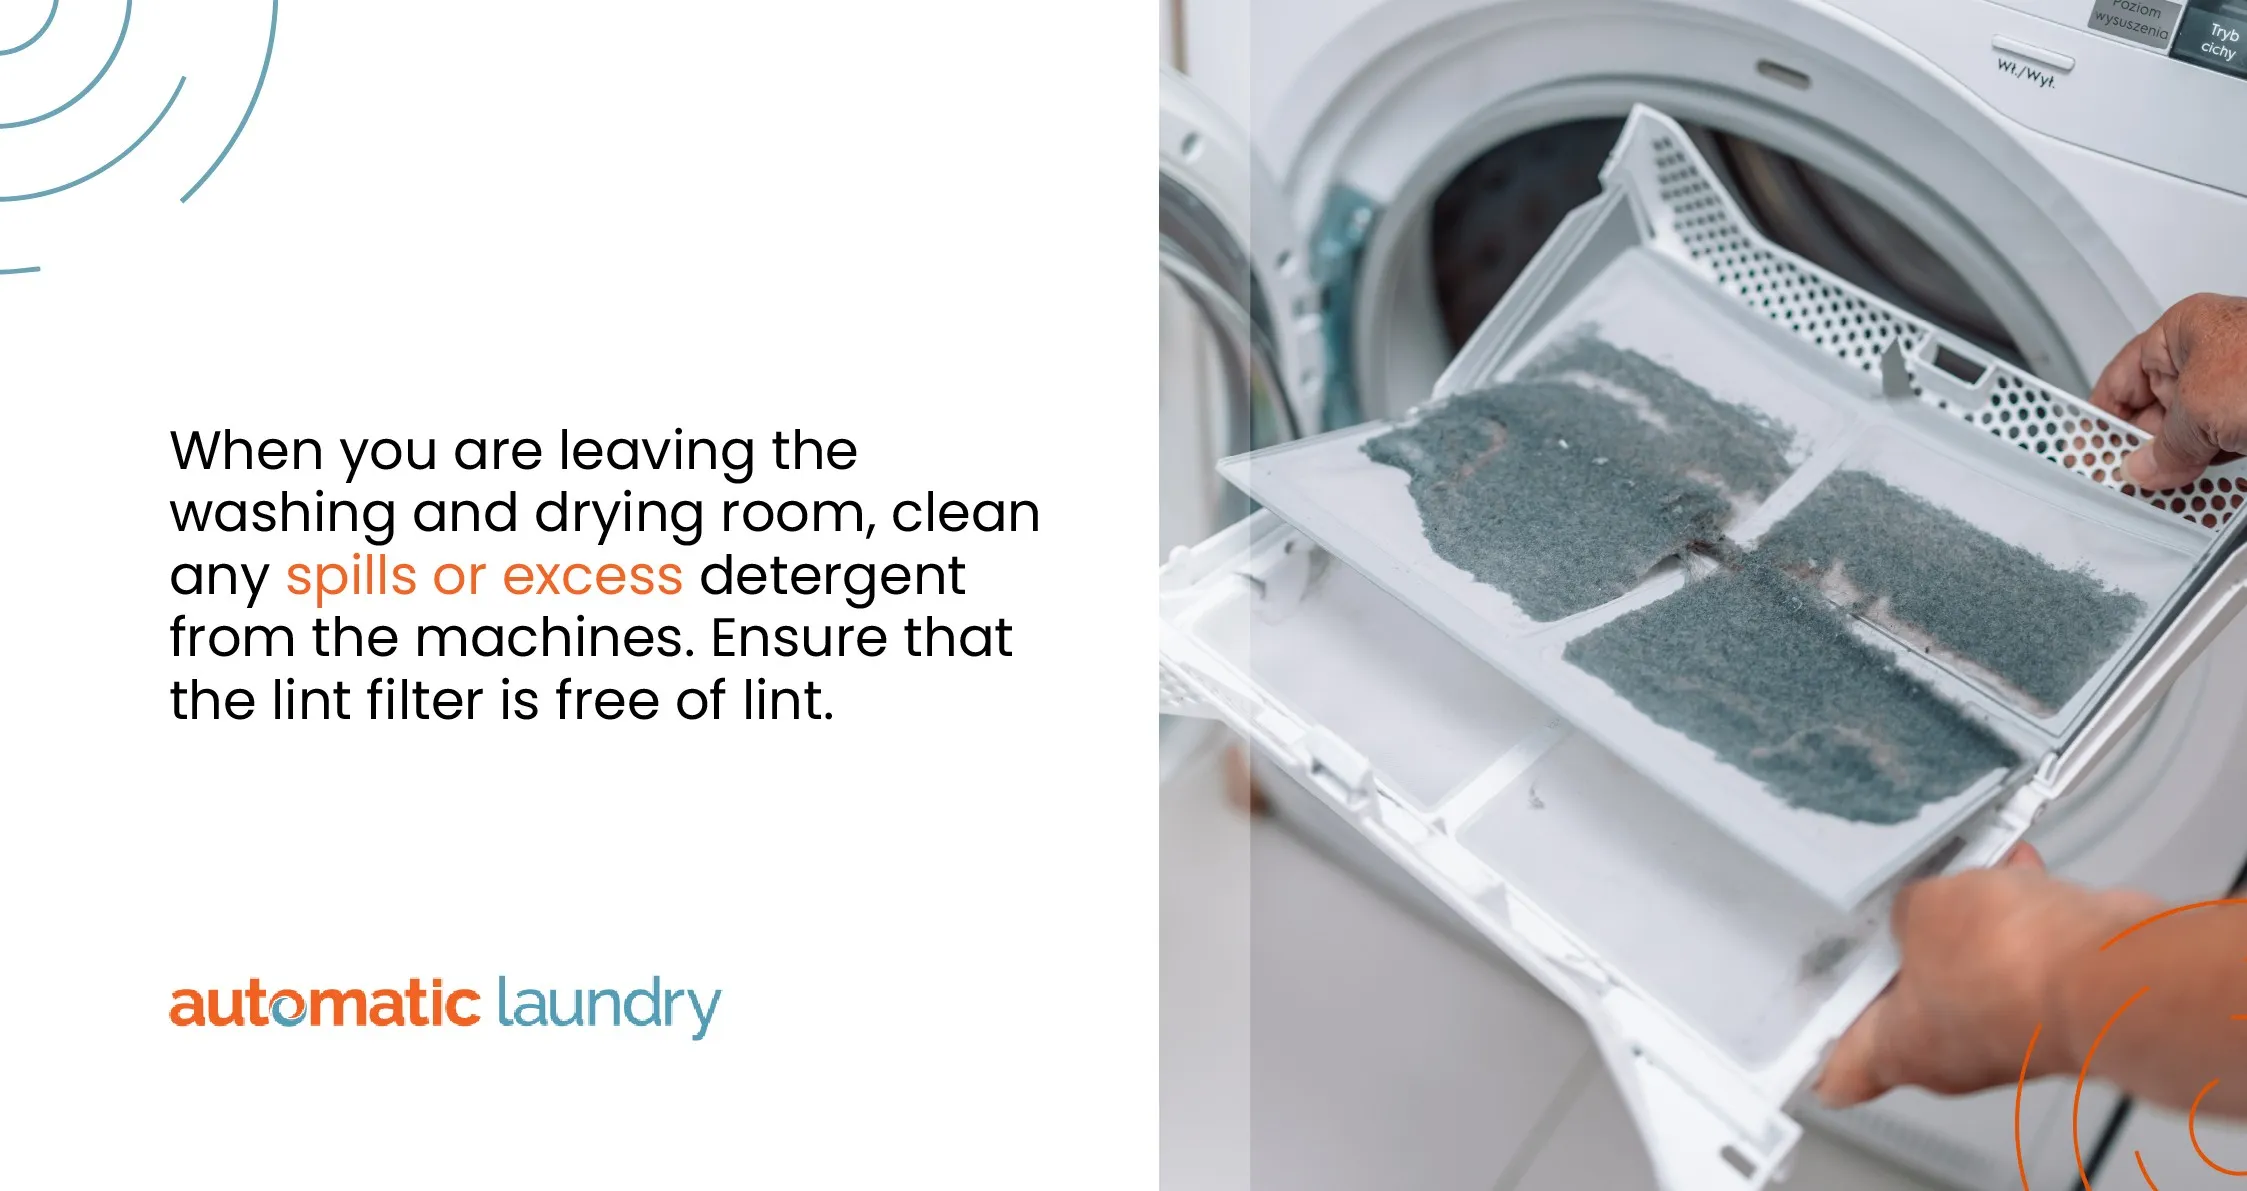
Take a moment. Give the machine door seal another quick wipe, especially if you spilled any detergent. Check the lint trap in the dryer, too. Those things are often neglected. A clogged lint trap is a fire hazard. And makes drying take longer.
And for God’s sake, leave the washing machine door slightly ajar. If it’s a front-loader. Let it air out. Prevent that stale, damp smell from coming back. This is common sense, people. Basic stuff.
The Laundromat Survival Kit: What to Carry
If you’re a regular at the laundromat, or even an occasional user, you need a kit. Don’t be that person who shows up unprepared. It’s embarrassing. And unsanitary. Pack these essentials:
- Disinfectant Wipes: A small travel pack. Bleach-based is best.
- Paper Towels: For wiping and drying.
- Small Spray Bottle: Pre-filled with rubbing alcohol or a diluted bleach solution (check local regulations for carrying).
- Washing Machine Cleaner Tablets: Keep a couple in a Ziploc bag.
- Hand Sanitizer: Obvious, right?
- Trash Bags: For your used wipes and paper towels. Don’t leave a mess.
Honestly, carrying this stuff is a small price to pay for peace of mind. And avoiding rashes. Remember Aunt Carol. She never forgot that motel. You won’t forget it either if you get an infection.
Watch: Stainless Steel Washer Cleaning Tips & Why Our Laundromat …
When to Just Walk Away
Some machines are just too far gone. If you see visible mold. If it smells overwhelmingly foul even after wiping. If there’s a thick layer of grime. If the controls look like they haven’t been cleaned since 1985. Just leave. Find another place. It’s not worth the risk.
I once saw a machine where the entire inside looked like it was coated in a layer of soap scum and hair. It was horrifying. The attendant just shrugged when I pointed it out. Shrugged! Some people just don’t care. You gotta care about yourself.
A Comparative Look at Machine Types
Front-loaders versus top-loaders. They both get dirty. But the method of cleaning might vary slightly.
| Feature | Front-Loader | Top-Loader |
|---|---|---|
| Primary Grime Area | Door seal, drum | Drum, dispenser |
| Cleaning Focus | Seal is critical; run hot cycle | Drum interior; run hot cycle |
| Drying/Airflow | Needs door ajar to dry | Naturally airs out better |
| Common Issues | Moldy seals, smells | Lint buildup, dispenser clogs |
The principles remain the same: inspect, wipe, disinfect, and run a hot cycle. Don’t overthink it. Just do it.
Watch: Public washing machines in a laundry (What should I do to …
My ‘Laundromat Horror Story’ Hall of Shame
Okay, gather ’round. Let me tell you about the time I encountered a machine in Baltimore. Fluorescent lights buzzing. The air thick with the smell of stale fabric softener and despair. I picked a machine. Looked okay at first glance. Then I wiped the seal. My paper towel came out… brown. And slightly fuzzy. Like something had been living in there.
I ran my hand inside the drum. It felt… slick. Not in a good way. I popped the dispenser drawer. It was caked with a rainbow of old detergent residue. I decided to run the hot cycle. Just to see. The water that came out wasn’t just dirty; it was thick. Like weak gravy. I bailed. Found a different place miles away. Sometimes, you just gotta cut your losses.
Another gem: Phoenix. Mid-summer. Machine looked fine. I did my usual wipe-down. Started the hot cycle. Five minutes in, the machine started making this god-awful grinding noise. Then it filled with water and… stopped. Dead. Lights out. The attendant just pointed to a sign that said ‘Out of Order.’ Brilliant. After I’d already ‘cleaned’ it and run a cycle. The sheer incompetence is astounding.
And then there was Chicago. Winter. A machine that smelled vaguely of mildew. I did my thing. Ran the hot cycle. Halfway through, it started leaking. A steady stream of dirty water pooling on the floor. Tracking everywhere. People just stepped over it. Nobody cared. It’s a systemic failure, honestly. A failure of maintenance. And a failure of basic human decency.
Conclusion: Your Clothes Deserve Better. You Deserve Better.
So, there you have it. How to clean public washing machine before use. It’s not complicated. It’s necessary. Don’t be lazy. Don’t be gross. Take five minutes. Wipe it down. Run a hot cycle. Protect yourself. Protect your laundry. Your health is worth more than a few minutes of inconvenience. Now go forth and conquer those germ-ridden machines. Armed and ready.
Frequently Asked Questions
How to clean a public washing machine before using?
Inspect the drum and door seal for visible grime, mold, or residue. Wipe down all interior surfaces, especially the seal, with disinfectant wipes or a bleach solution. Then, run an empty hot water cycle with a washing machine cleaner or a small amount of bleach to flush out residual contaminants.
Is it safe to use a public washing machine?
It can be, but only if you take precautions. Public washing machines are notorious breeding grounds for bacteria, mold, and other contaminants due to heavy use and inconsistent cleaning. Always inspect, disinfect, and run an empty hot water cycle before loading your laundry to minimize risks.
How to clean a washing machine before use?
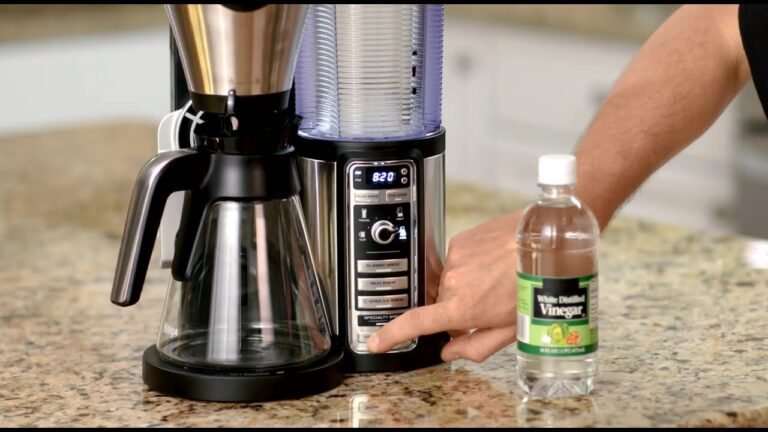
Whether public or private, cleaning involves inspecting the drum and seal for debris and mold. Wipe down all interior surfaces with a disinfectant. For a thorough clean, run an empty hot water cycle with a washing machine cleaner, vinegar, or bleach to sanitize the internal components and pipes.
How to sanitize a washing machine at laundromat?
To sanitize a laundromat washing machine, first visually inspect the drum and rubber seal for dirt and mold. Use disinfectant wipes to thoroughly clean the inside of the drum, the door, and especially the rubber gasket. Afterward, run an empty hot water cycle, ideally with a washing machine cleaning tablet or a small amount of bleach, to flush and kill any remaining germs.
What are the biggest risks of using a dirty public washing machine?
The biggest risks include transferring bacteria and mold onto your clean clothes, which can lead to skin irritation, rashes, or allergic reactions. Ingesting or inhaling these contaminants is also a concern, potentially causing respiratory issues or other health problems. You might also find lingering odors or residues transferred to your laundry.