How To Clean Kitchen Aid Ice Machine
This Ain’t Your Grandma’s Ice Maker. This is KitchenAid. And You’re Trashing It.
nn
Look, you bought a KitchenAid. You paid good money. Probably dropped like $2000, maybe more. You expect… premium. Right? Well, what you’re doing to it? It’s a crime. Honestly. You bought a high-end appliance and you treat it like a forgotten sponge. This isn’t about making ice. It’s about not making slime. We’re talking How To Clean Kitchen Aid Ice Machine. And it’s long overdue.
nn
The thing is, most people? They just ignore it. Until the ice tastes like a wet dog or the machine sounds like a dying walrus. Then, it’s panic. Too late, pal. Way too late. I’ve seen these things. Pristine machines turned into biohazards. All because someone couldn’t be bothered for an hour. An hour! For a machine that costs more than your first car.
nn
First Off: Stop Being Lazy. Seriously.
nn
This isn’t rocket science. It’s basic hygiene. You wouldn’t eat off a dirty plate, would you? Don’t drink ice from a dirty machine. It’s disgusting. And it WILL ruin your expensive beverage. Your guests will notice. Your kids will get sick. Don’t be that person.
nn
Let’s Break It Down. Step By Step. No Fluff.
nn
Empty the Damn Thing
nn
First, and I can’t stress this enough: Turn it OFF. Unplug it. You want to lose a finger? Didn’t think so. Then, get all the ice out. Dump it. If it’s already suspect, dump it OUTSIDE. Don’t contaminate your regular ice bin. Nobody needs that kind of drama.
nn
The Exterior. It’s Not Invisible.
nn
Grab a soft cloth. Mild soap and water. Maybe a little glass cleaner for the stainless steel if you’re feeling fancy. Wipe it down. Don’t use abrasives. You’ll scratch it. Then it looks like garbage. And nobody wants a scratched ice machine. Or a dirty one.
nn
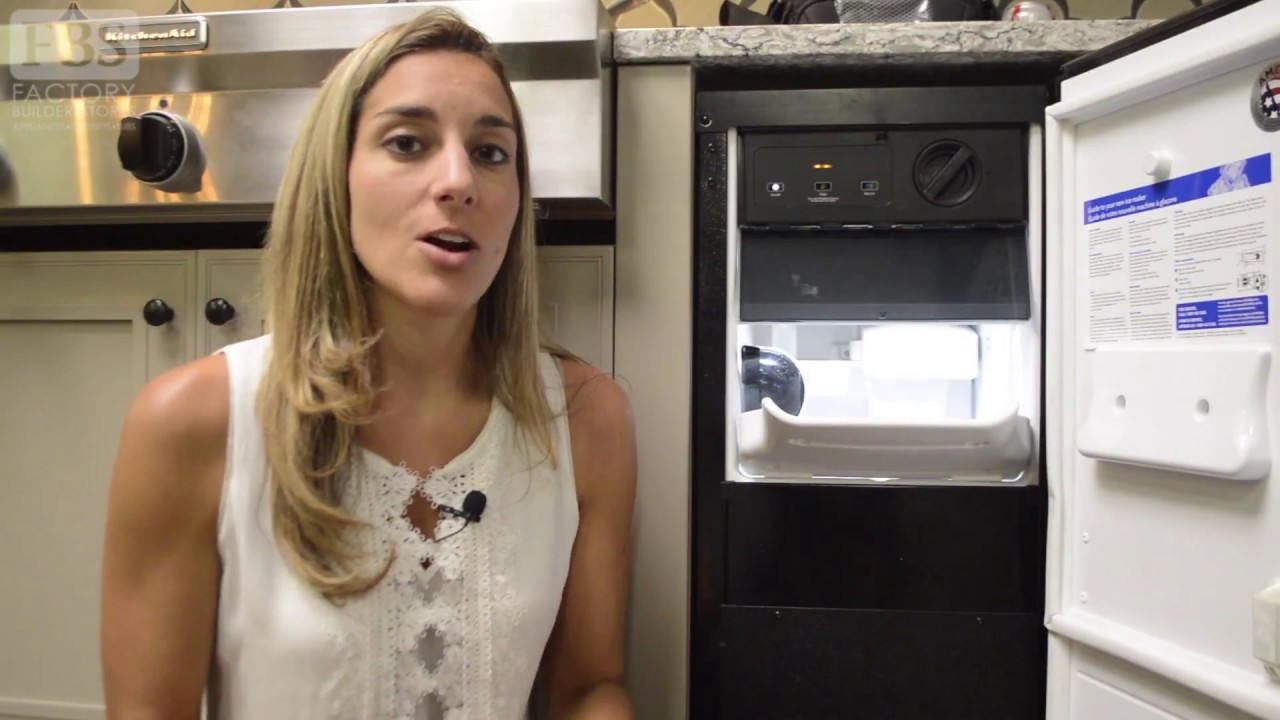
Interior Deep Dive. Prepare for War.
nn
This is where the real horror show happens. You gotta take stuff apart. Refer to your manual. They wrote it for a reason. Usually, it involves removing ice storage bins, water filters, maybe some panels. Don’t force anything. If it’s stuck, there’s probably a hidden clip or screw. Think.
Watch: YouTube
nn
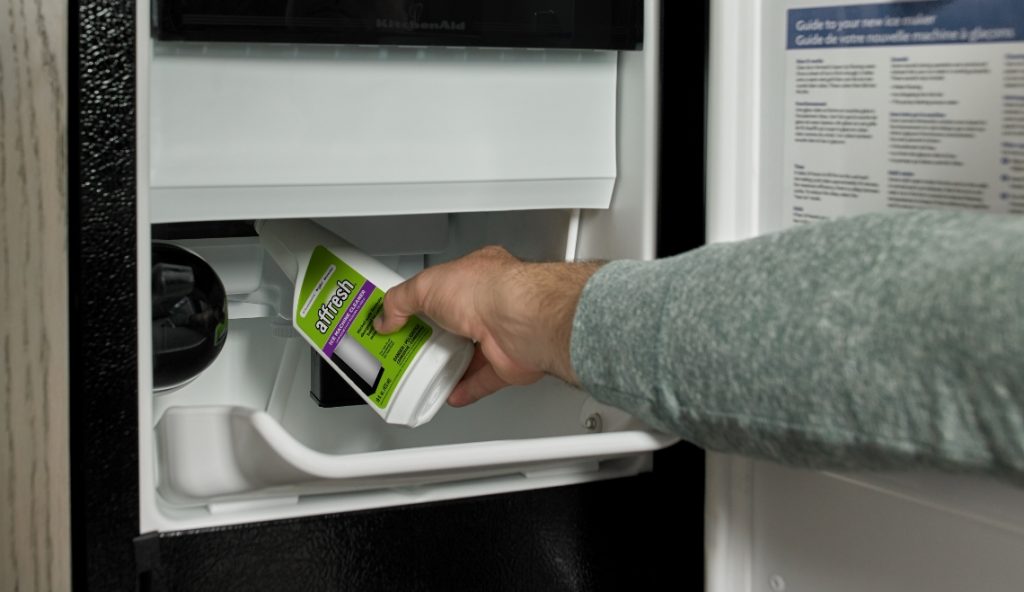
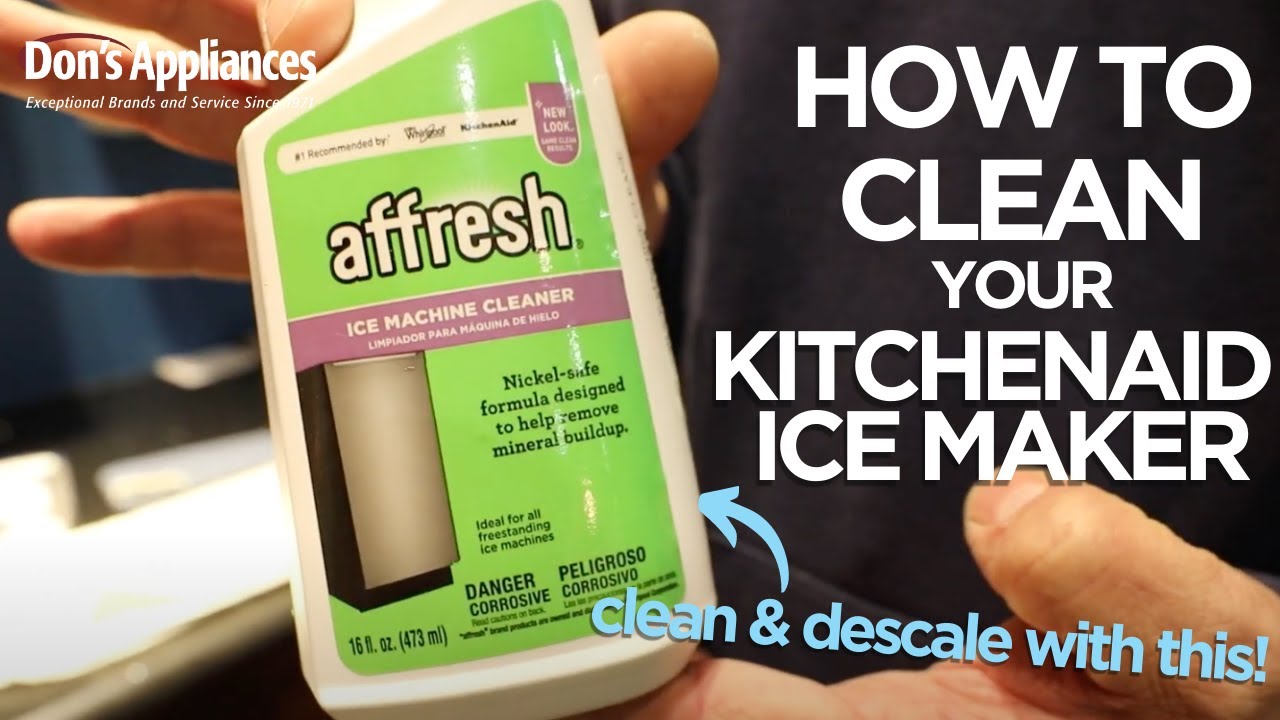
The Descale. Because Hard Water Sucks.
nn
Water filters help, but they ain’t magic. Mineral buildup is inevitable. KitchenAid recommends their own cleaning solution. Or a vinegar solution. About 1 part white vinegar to 1 part water. Sounds gross, tastes worse. But it works. Pour it into the water reservoir. Let it sit. Then run a brew cycle. Maybe two. Drain it all. Rinse thoroughly. Repeat if necessary. Nobody likes vinegary ice.
nn
Cleaning the Ice Bin and Scoop. Don’t Spread Germs.
nn
These parts usually come out easily. Wash them with warm, soapy water. Rinse well. Air dry them completely. Don’t put them back wet. That’s how you get mold. And you know what moldy ice tastes like? Like regret. And science experiments gone wrong.
Watch: How to Clean and Descale Your Ice Maker | KitchenAid Ice …
nn
Condenser Coils? Yeah, They Need Love Too.
nn
This one trips people up. It’s usually at the back or bottom. Looks like a radiator. It gets dusty. Clogged. This kills efficiency. Makes the machine work harder. Use a vacuum cleaner with a brush attachment. Gently vacuum the dust off. Be careful. Don’t bend the fins. If it’s really bad, you might need a special coil cleaner. But vacuuming is usually enough. Do this maybe twice a year. Maybe more if you have pets. Or live in a dust bowl.
nn
Maintenance Schedule: Don’t Be That Guy.
nn
Consistency is key. Don’t wait until it’s a disaster. My buddy Dave? He never cleaned his. Bought it in 2018. Thought it would last forever. Guess what? It died last month. Kaput. Cost him $800 to replace the compressor. Should have just cleaned it. A simple hour, twice a year. That’s all it takes. Not $800.
Watch: Cleaning your under counter ice maker
nn
Weekly Wipe-Down
nn
Just a quick wipe of the exterior. And check the ice bin. Get rid of old ice if it’s been sitting too long.
nn
Monthly Deep Clean
nn
This is where you do the interior. Run a cleaning cycle. Wash the removable parts. Check the water filter. Replace if needed.
nn
Semi-Annual Coil Clean
nn
Vacuum those condenser coils. Seriously. Don’t skip this. It’s vital for performance. And lifespan.
nn
Troubleshooting: When Things Go Sideways
nn
Sometimes, even with cleaning, things act up. Lights flash. Machine stops making ice. What then? Check your manual. Most common issues? Low water pressure. Clogged water line. Frozen evaporator. Usually, a reset or a good cleaning fixes it. If not? You might have a real problem. And then you call a pro. Or cry into your lukewarm soda.
nn
The Right Tools for the Job
nn
You don’t need a hazmat suit. But you need a few things:
nn
| Tool | Purpose |
| Soft cloths | Wiping surfaces. No scratches. |
| Mild dish soap | General cleaning. |
| White vinegar | Descaling. Nasty but effective. |
| Vacuum cleaner (brush attachment) | Condenser coils. Dust bunnies beware. |
| Owner’s Manual | Your Bible. Don’t lose it. |
nn
That’s it. No fancy gadgets. Just common sense. And a willingness to get your hands dirty. Which, let’s be honest, is probably the hardest part for most people. They think this appliance cleans itself. It doesn’t. It’s a machine. It needs maintenance. Just like your car. Except your car doesn’t dispense frozen water.
nn
The Bottom Line: Clean It Or Regret It.
nn
So there you have it. How To Clean Kitchen Aid Ice Machine. It’s not glamorous. It’s necessary. You paid for quality. Don’t ruin it with neglect. A clean machine makes clean ice. Clean ice makes good drinks. Good drinks make for happy people. It’s a simple chain reaction. Start with cleaning. You’ll thank me later. Or at least, your taste buds will.
nn
Frequently Asked Questions
nn
How often should I clean my KitchenAid ice machine?
nn
Honestly? A good deep clean, including running a descaling cycle and washing removable parts, should happen about once a month. A quick exterior wipe-down weekly is smart. And don’t forget to vacuum the condenser coils at least twice a year. More often if you have pets or live in a dusty environment. Consistency is your friend here. Don’t wait for it to look, or taste, like swamp water.
nn
Can I use bleach to clean my KitchenAid ice machine?
nn
Absolutely NOT. Bleach is harsh, can damage internal components, and is nearly impossible to rinse out completely. You’ll end up with bleach-flavored ice, which is a terrible outcome. Stick to mild soap and water for surfaces, and a vinegar or specialized descaling solution for the interior water system. It’s safer and more effective for your machine.
nn
My ice tastes funny. What should I do?
nn
Funny tasting ice is the biggest sign your machine is overdue for a cleaning. Start with a full deep clean following the steps above. Pay extra attention to descaling the water system and thoroughly washing the ice bin. Also, check your water filter – if it’s old, it could be contributing to off-flavors. Replace it if it’s past its prime, usually every six months.
nn
What is the best way to descale my KitchenAid ice machine?
nn
The manufacturer’s recommendation is usually their own cleaning solution. If you don’t have that, a simple solution of 1 part white vinegar to 1 part water works well for most situations. Fill the reservoir with this solution, run a brew cycle (without making ice, if possible), let it sit for a bit, then drain and rinse thoroughly. You might need to repeat this process if the mineral buildup is severe.
nn
How do I clean the water filter on my KitchenAid ice machine?
nn
Most KitchenAid ice machines use replaceable water filters, not ones you clean. Check your manual to confirm, but generally, you’ll need to purchase a new filter when the old one is due for replacement – typically every six months or as indicated by the machine’s indicator light.